Dress-up and personalize your KitchenAid mixer with this step-by-step tutorial.
Supplies:
For this project I used Oracal 651vinyl which is durable for outdoor use but is also good for indoor use as well. It has a permanent adhesive so if you want something you can change later, you may want to choose a different vinyl. Silhouette brand or any craft store brand should be fine for this project.
You will also need transfer paper, contact paper, or even lint roller paper to transfer your decal onto the mixer.
The following video will show you exactly how I created this design in Silhouette Studio:
After you have cut your design you need to weed it which is the process of removing the parts that you don't want.
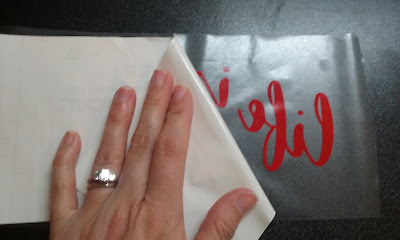
Next, put your transfer paper on top of the image. I used contact paper as my transfer medium.
Finally, align and place your decal on your mixer and remove the transfer paper.
And there you have it! A cute decal to make your KitchenAid pop!


No comments:
Post a Comment